
Build difficultyEasy
Pros +
- Reliable ranged support
- Strong barrier coverage
- Easy group boon maintenance
- Harrier equipment profile
- Strikes ready
Cons −
- Mech position controls output
- Commands can be delayed by movement
- Timing still affects performance
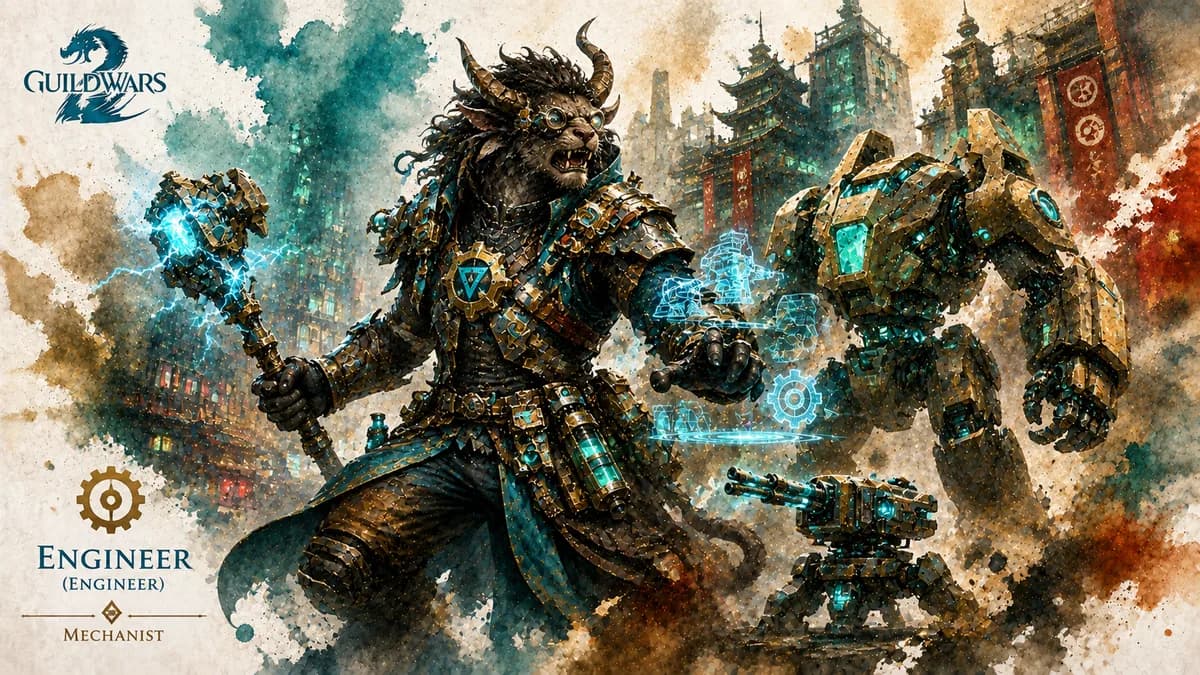
Strikes · Engineer build dossier
Mechanist heal support variation for Strikes, reviewed against current community recommendations and tuned for the mode's equipment, utility, and encounter priorities.
Maintained and reviewed by House of Dragonz against current mode guidance and community references. How we review builds →
The displayed weapon plan was checked against the current Snow Crows raid directory. Gear, traits, utility choices, and rotation notes remain House of Dragonz editorial guidance and should be reviewed encounter by encounter.
Build context
Loadout
Harrier equipment · Monk runes · Transference and Concentration sigils. This loadout is arranged by equipment group so every stat, upgrade, and weapon set is easy to scan.
 Harrier's Helm+63 Power+45 Healing Power+45 ConcentrationAscended · ArmorHarrier's Helm
 Superior Rune of the Monk · 1/6Superior Rune of the Monk(1): +25 Healing Power(2): +5% Boon Duration(3): +50 Healing Power(4): +10% Boon Duration(5): +100 Healing Power(6): +125 Healing Power
 Harrier's Shoulders+47 Power+34 Healing Power+34 ConcentrationAscended · ArmorHarrier's Shoulders Superior Rune of the Monk · 2/6Superior Rune of the Monk(1): +25 Healing Power(2): +5% Boon Duration(3): +50 Healing Power(4): +10% Boon Duration(5): +100 Healing Power(6): +125 Healing Power
 Harrier's Coat+141 Power+101 Healing Power+101 ConcentrationAscended · ArmorHarrier's Coat Superior Rune of the Monk · 3/6Superior Rune of the Monk(1): +25 Healing Power(2): +5% Boon Duration(3): +50 Healing Power(4): +10% Boon Duration(5): +100 Healing Power(6): +125 Healing Power
 Harrier's Gloves+47 Power+34 Healing Power+34 ConcentrationAscended · ArmorHarrier's Gloves Superior Rune of the Monk · 4/6Superior Rune of the Monk(1): +25 Healing Power(2): +5% Boon Duration(3): +50 Healing Power(4): +10% Boon Duration(5): +100 Healing Power(6): +125 Healing Power
 Harrier's Leggings+94 Power+67 Healing Power+67 ConcentrationAscended · ArmorHarrier's Leggings Superior Rune of the Monk · 5/6Superior Rune of the Monk(1): +25 Healing Power(2): +5% Boon Duration(3): +50 Healing Power(4): +10% Boon Duration(5): +100 Healing Power(6): +125 Healing Power
 Harrier's Boots+47 Power+34 Healing Power+34 ConcentrationAscended · ArmorHarrier's Boots Superior Rune of the Monk · 6/6Superior Rune of the Monk(1): +25 Healing Power(2): +5% Boon Duration(3): +50 Healing Power(4): +10% Boon Duration(5): +100 Healing Power(6): +125 Healing Power
 Harrier's Backpiece+63 Power+40 Healing Power+40 ConcentrationAd InfinitumAccount BoundAscended · BackpieceHarrier's Backpiece
 Harrier's Accessory+110 Power+74 Healing Power+74 ConcentrationBlack Ice EarringAccount BoundAscended · AccessoryHarrier's Accessory
 Harrier's Accessory+110 Power+74 Healing Power+74 ConcentrationSparking Petrified WoodAccount BoundAscended · AccessoryHarrier's Accessory
 Harrier's Amulet+157 Power+108 Healing Power+108 ConcentrationBlood Ruby PendantAccount BoundAscended · AmuletHarrier's Amulet
 Harrier's Ring+126 Power+85 Healing Power+85 ConcentrationBlack Ice BandAccount BoundAscended · RingHarrier's Ring
 Harrier's Ring+126 Power+85 Healing Power+85 ConcentrationBlood Ruby BandAccount BoundAscended · RingHarrier's Ring
 Relic of the MonkHealing skills build stacks that increase outgoing healing.Relic of the Monk Relic
 Harrier's Short Bow+251 Power+179 Healing Power+179 ConcentrationAscended · Two-Handed WeaponHarrier's Short Bow Two-Handed
 Superior Sigil of TransferenceSuperior Sigil of TransferenceHealing to other allies is increased by 10%.
 Superior Sigil of ConcentrationSuperior Sigil of Concentration+10% Boon Duration
 Harrier's Mace+125 Power+90 Healing Power+90 ConcentrationAscended · Main Hand WeaponHarrier's Mace Main Hand Superior Sigil of TransferenceSuperior Sigil of TransferenceHealing to other allies is increased by 10%.
 Harrier's Shield+125 Power+90 Healing Power+90 ConcentrationAscended · Off Hand WeaponHarrier's Shield Off Hand Superior Sigil of ConcentrationSuperior Sigil of Concentration+10% Boon Duration
 Healing +9 Agony Infusion+5 Healing Power · +9 Agony ResistanceEquipped quantity: 18Infusions ×18Healing +9 Agony Infusion
 Bowl of Fruit Salad with Mint Garnish+10% Outgoing Healing+100 Healing Power+70 ConcentrationFoodBowl of Fruit Salad with Mint Garnish
 Bountiful Maintenance OilGain Concentration from Healing PowerGain Concentration from PowerUtilityBountiful Maintenance Oil
 Jade Bot Core: Tier 10+235 VitalityJade Bot CoreTier 10 · +235 Vitality
Combat configuration
Skill notes
Open with Barrier Signet available, use Shift Signet for the group's immediate need, and reserve Mech Frame: Channeling Conduit for the most dangerous strikes pressure.
Hover the skill icons for complete Guild Wars 2 effect details. Barrier SignetHealShift SignetUtilityMech Frame: Channeling ConduitElite
Combat execution
Position the mech before the group enters combat so its boons and support pulses reach the intended targets.
››Watch for forced movementRefresh key boons through the mech and weapon skills, then use Shift Signet to correct placement instead of chasing every movement.
››Commit only on a stable bossKeep barrier or a defensive command ready for the next predictable pressure event.
››Keep an answer for pressure